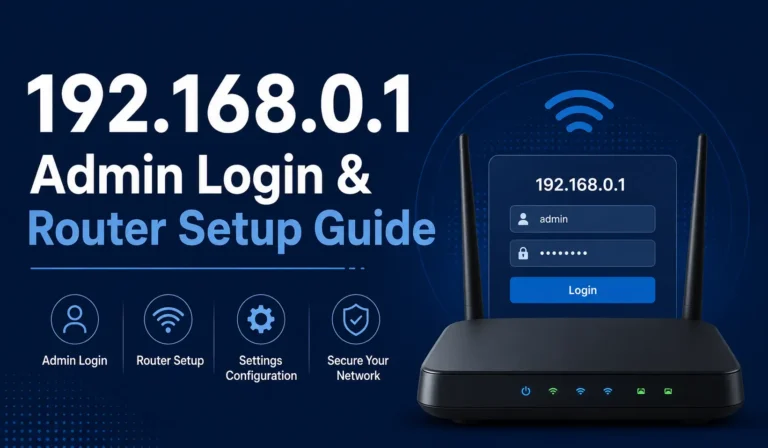
192.168.10.1 Router Login, Admin Panel Access & Default Password Guide
192.168.10.1 is the default gateway IP address that sits quietly behind your home or office internet connection, doing more work than most people realize. Brands like TP-Link, D-Link, PTCL, TRENDnet, and Motorola all ship their routers with this private IP baked in as the default admin access point.
If you have never touched your router settings before, this guide will walk you through everything from logging in for the first time to fixing connection problems and locking down your network security
Default logins for 192.168.10.1
| IP Address: | 192.168.10.1 |
| Username: | admin |
| Password: | admin |
| IP Address: | 192.168.10.1 |
| Username: | – |
| Password: | admin |
| IP Address: | 192.168.10.1 |
| Username: | ‘randomly generated’ |
| Password: | admin |
| IP Address: | 192.168.10.1 |
| Username: | admin |
| Password: | – |
| IP Address: | 192.168.10.1 |
| Username: | admin |
| Password: | motorola |
How is 192.168.10.1 IP Address Used?
Most guides jump straight to the login steps. But understanding what this address actually does makes everything else click faster.
192.168.10.1 is a private IP address not just for routers, but also for networking devices like webcams, VoIP telephones, and DVRs. The reason an entire category of devices shares a private IP system comes down to a very real numbers problem. There are over 26 billion internet-capable devices in the world, but only around 4 billion IPv4 addresses exist. That gap cannot be closed with public IPs alone.
To prevent IPv4 exhaustion, the Internet Assigned Numbers Authority (IANA) an American non-profit that oversees global IP address allocation introduced private IP addresses as a universal solution. Unlike a public IP, a private IP like 192.168.10.1 is not routed on the internet, so its use does not need to be coordinated with any address registry.
IANA keeps three reserved private IP ranges locked down:
| Block | Range | Total Addresses |
|---|---|---|
| 24-bit block | 10.0.0.0 — 10.255.255.255 | 16,777,216 |
| 20-bit block | 172.16.0.0 — 172.31.255.255 | 1,048,576 |
| 16-bit block | 192.168.0.0 — 192.168.255.255 | 65,536 |
192.168.10.1 sits inside that 16-bit block. Multiple devices across different private networks can share this address without conflict. The only hard rule is that no two devices on the same network can hold it at the same time that causes an IP address collision. A network analyzer like NetSpot can reveal just how many nearby networks are running on the same private IP ranges when you do a full in-depth scan.
Looking further ahead ISPs around the world are steadily switching to IPv6, which carries 340,282,366,920,938,463,463,374,607,431,768,211,456 unique IP addresses. When IPv6 fully takes over, private addresses like 192.168.10.1 may eventually become obsolete.
What Does the 192.168.10.1 IP Address Do?
192.168.10.1 acts as the gateway address for your entire local network. It is the network id anchor from which every connected device receives its own device id automatically:
| Device | Assigned Private IP |
|---|---|
| Laptop (Device 1) | 192.168.10.2 |
| Phone (Device 2) | 192.168.10.3 |
| Tablet (Device 3) | 192.168.10.4 |
The same logic applies to your smart TV, printer, and even a fridge with smart technologies built in. Every internet-capable device that joins your network gets a related private IP tied back to 192.168.10.1.
The router uses this private IP to communicate with every device on the local network. At the same time, a separate public IP assigned by your ISP on a first-come, first-served basis handles all communication with the internet. Think of the public IP as a PO box that the World Wide Web uses to send packages your way. Websites and cloud services send their requests to that public IP, and the router distributes everything internally through 192.168.10.1 using a process called NAT (Network Address Translation).
A few things worth knowing about your public IP:
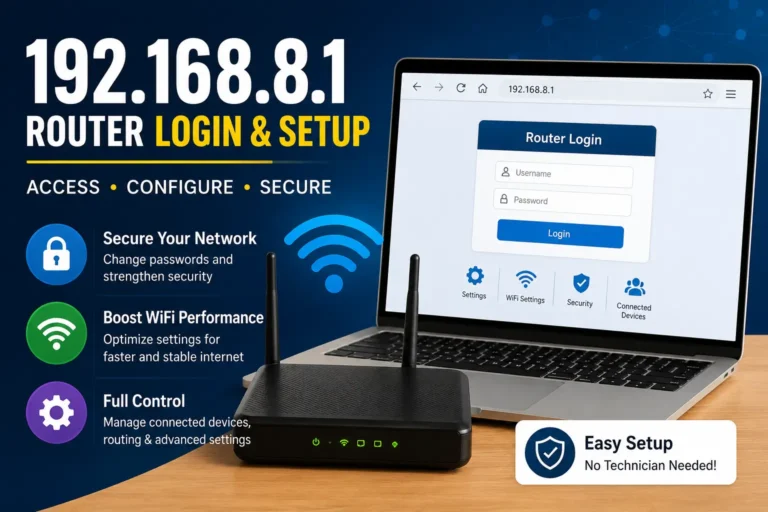
How to Login
Step 1:Check your connection Make sure your device is connected to the router’s network either wirelessly through Wi-Fi or through a wired Ethernet cable plugged into the LAN jack. Before moving forward, confirm these indicator lights on the router:
- Power light should remain steady
- WAN, LAN, and WLAN lights should blink or flash continuously
Step 2:Open your web browser Open any browser Chrome, Firefox, Edge, Opera, Safari, or Internet Explorer and type http://192.168.10.1 into the address bar and press Enter. Avoid relying on the autocomplete feature, as browsers sometimes silently fill in the wrong address. Copy and paste the IP directly to be safe.
Step 3:Enter your login credentials A login page will appear asking for a username and password. If you have never changed these, the default details are usually printed on a label at the base of your router or inside the user manual. You can also search for your specific router model online to find the correct credentials.
Step 4: Access router settings After a successful login, you land inside the web-based setup page the full admin interface. From here you can configure:
- Wi-Fi passwords and network name (SSID)
- Parental controls
- Virtual LANs and multiple SSIDs
- VPN settings
- USB ports for printers or drives
- Malware and spam protection
- Dual or backup WAN port and 4G support
- RADIUS server settings
Common mistake: Many users type 192.168.l0.1 with a letter “O” instead of a zero. That is an invalid IP. An IP address contains only numbers never letters. If the page throws an error message or does not load at all, this is the first thing to check.
192.168.10.1 Default Username and Password List
If you have never changed your login credentials, these are the most common default logins used by routers on the 192.168.10.1 IP address:
| IP Address | Username | Password | Usage |
|---|---|---|---|
| 192.168.10.1 | admin | admin | 60% |
| 192.168.10.1 | — | admin | 12% |
| 192.168.10.1 | randomly generated | admin | 9% |
| 192.168.10.1 | admin | — | 6% |
| 192.168.10.1 | admin | motorola | 3% |
| 192.168.10.1 | admin | Password | — |
| 192.168.10.1 | admin | 1234 | — |
| 192.168.10.1 | user | user | — |
| 192.168.10.1 | user | Password | — |
| 192.168.10.1 | admin | user | — |
| 192.168.10.1 | empty | empty | — |
If none of these login combinations work:
- Flip the router over and check the information sticker on the base the correct admin username and password combination is almost always printed there
- If the sticker is missing, check the user manual
- If the manual is unavailable, search your router model on the manufacturer’s website
How to Change Network Name and Password through 192.168.10.1
Once inside the admin interface, changing your SSID and Wi-Fi password should be one of the first things you do especially if factory defaults are still in place.
- Log in to the admin interface using this IP.
- Go to Home > Wireless > Security (navigation may vary slightly by router model)
- Find the Network Name / SSID field and type in your new name
- Select your encryption protocol WPA3 is the strongest option, with WPA2 as a solid fallback
- Enter your new password in the WPA Passphrase field
- Click Apply or Save to confirm the changes
You can also reach these settings through Setup Menu > Wireless Settings and update the SSID field directly from there. While you are in the General Settings Menu, update the Router Password and Username fields to something more secure than the printed defaults.
Change the 192.168.10.1 Local IP
Changing your local IP from 192.168.10.1 adds a layer of unpredictability to your network security. Since most routers of the same brand and model ship with identical default gateway addresses, swapping it out is a simple but effective move.
To change it:
- Go to Setup Menu
- Open Network Settings
- Type your new local IP into the field inside the Router Settings section
- Save the changes
Important: Record the new address before saving. Once changed, 192.168.10.1 will no longer open the admin interface you will need the new IP to get back in.
You can pick almost any address you want, as long as it stays within the private IP ranges defined by IANA and does not create an IP address collision with another device already on your network.
How Can You Tell What Your Gateway IP Is
The quickest method is to check the label on the base of your router. If that label is gone common with second-hand devices the user manual or the manufacturer’s website are your next options.
For Windows OS Machines:
- Click the Networks icon in the bottom right corner of your screen
- Find your router’s network in the list and connect to the internet
- Click Properties and scroll to the IPv4 section
- Your local IP will be listed there usually this IP or a similar string of digits
For Mac OS Machines:
- Go to the Apple menu and open System Preferences
- Connect to the internet through the router’s network
- Open the Options menu and look next to Router your gateway IP will be right there
Note : If there is a discrepancy between what the label says and what your device shows, someone changed the IP. If it was not you, your network security may be compromised. The right move is a factory reset back to this IP followed by setting strong passwords for both the router and the wireless network.
Getting Connected
Setting up a TRENDnet or any other wireless router from scratch follows this general installation process:
- Disconnect the modem from the power supply
- Connect an Ethernet cable to the back of the modem
- Plug the other end into the WAN jack on the back of the wireless router
- Connect another Ethernet cable from the LAN jack on the router to your computer
- Plug both the cable modem and router into an electrical outlet
- Switch the power button on the back of your device to the ON position
Once the lights stabilize and the connection is live, open a browser and go to http://192.168.10.1.
How to Factory Reset to Default Settings
Forgetting your router login password is more common than you would think. A factory reset is the cleanest fix.
Quick reset method:
- Take a toothpick or paperclip and locate the small hidden reset button on the back of your router
- Press and hold it for 10 to 15 seconds (some models need up to 30 seconds)
- The router lights will blink and the device will reboot
- Once it comes back up, all settings including any changed password revert to factory default
- Log in using the default username and password
Full manual reset method:
- Power on the device and press and hold the reset button for 30 seconds
- Unplug the router while still holding the reset button
- Keep holding for another 30 seconds after unplugging
- Plug the router back in and wait a final 30 seconds
- Go to the admin interface login page and use the default credentials
Troubleshooting in this IP
If the admin panel is not loading, the cause is almost always one of three things:
Invalid IP Address A single erroneous digit or an unwanted character like typing the letter O instead of zero in 192.168.l0.1 sends you to a completely different page or loads nothing at all. Copy and paste the IP address directly into the address bar instead of typing it by hand. Also watch the browser’s autocomplete, which can silently insert the wrong address.
Missing Ethernet Cable Many routers require a physical connection before the admin panel becomes accessible. Plugging an Ethernet cable from the LAN jack of the router into your computer takes a few seconds and often resolves the issue immediately.
Faulty Router If both of the above are ruled out and http://192.168.10.1 still does not load, the problem may be the router itself. These are complex devices, and any component being out of place can cause complications. Contact the manufacturer to rule out a hardware failure. Also confirm that your router actually uses this IP as its default not all manufacturers do.